ACORN 3.3 is now completely web based. To login to ACORN 3.3, open up a web browser such as Internet Explorer or Firefox and go to:
http://courtname.acornnotes.com
where courtname is the abbreviated name used to identify your court in ACORN.
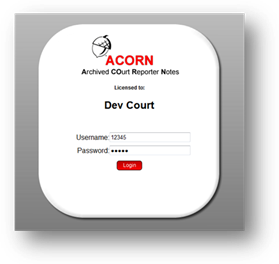
You will automatically be re-directed to the secure (https using SSL certificates) login page.
In the Username field, enter the user name the Court Reporter Manager assigned you (typically your CSR#).
In the password field, enter your password. If you do not know what your username or password has been set to, contact your Court Reporter Manager.
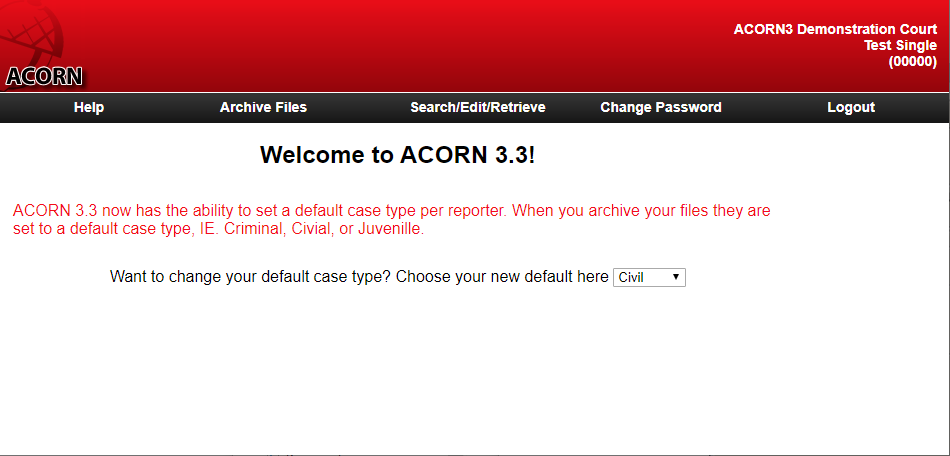
Once you login to ACORN, you will be presented with the initial welcome screen. You can get back to this screen by clicking on the ACORN login in the upper left corner.
Sub-Menu Options:
Help: Available on every screen in ACORN. Clicking on this link will open up a new window with information on how to use the page you are on.
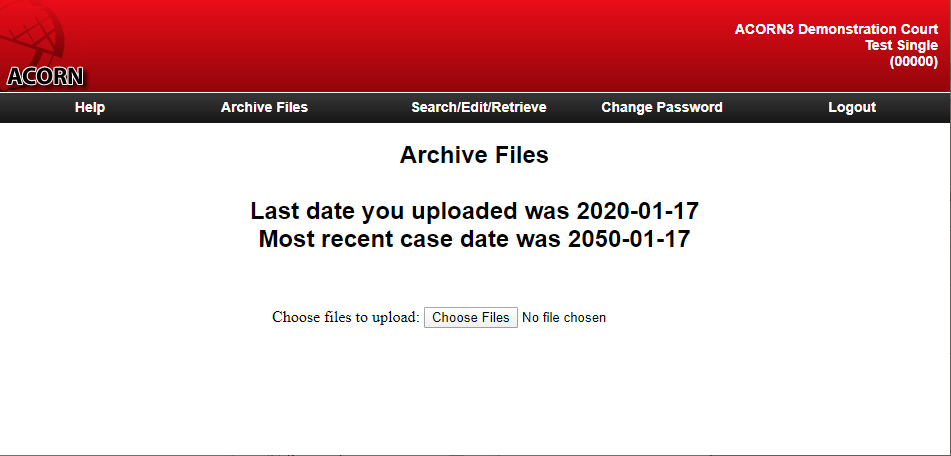
Archive Files: This option allows you to select a single or multiple files at a time, index the files and upload them.
Search/Edit/Download: To retrieve (download) a file from the ACORN server, or even update indexing information on a file, you will need to search for the file(s) first. This page will allow you to search for files using a number of different search options.
Change Password: Periodically, for security reasons, it is recommended you change your password in ACORN. This link will ask you for your current password (to verify it is you making the change request), then have you enter in a new password
Logout: When done with ACORN for the time being, click on Logout to exit the ACORN system.
Default Case Type: You can change your default case type on this screen. The default case type is used to set the case type when archiving files. Select the type of files that you upload the most. You will be able to change individual cases if they differ from the default.
In Chrome:
To select files click on the Choose Files option. A Windows' Explorer window will open.
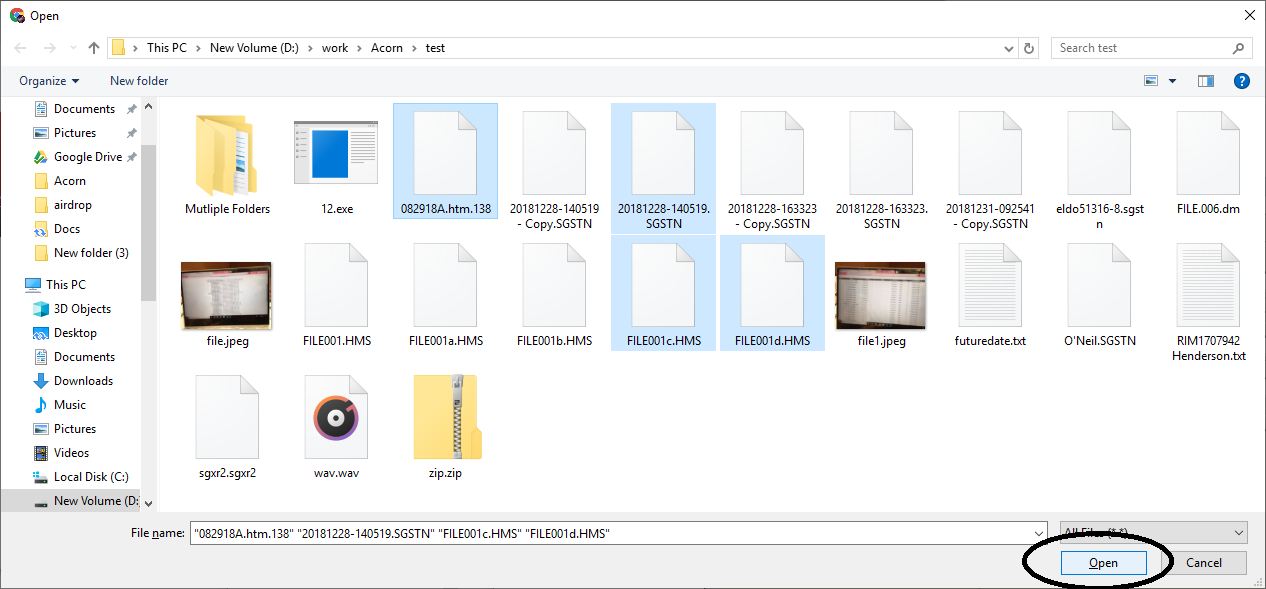
Browse to the folder containing your notes files. Choose the files you would like to upload and click open.
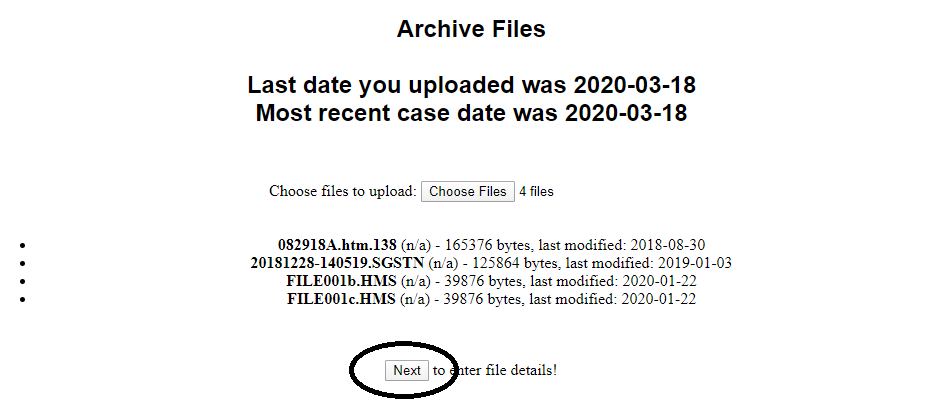
Once you see your files listed you can click Next to enter file details. This may take a few minutes depending on how many files you selected and their size.
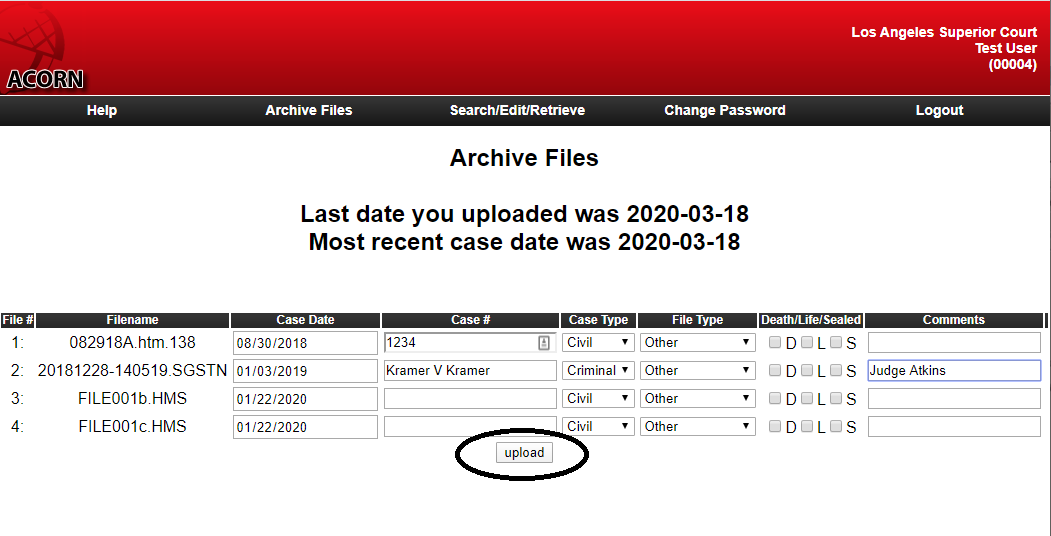
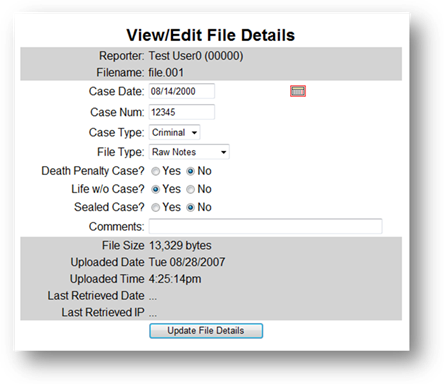
On this screen you can change the case date, add a case number, change the Case or File type, check for Death, life, or sealed case, and enter any comments. Then clcik upload and your files will be uploaded into ACORN
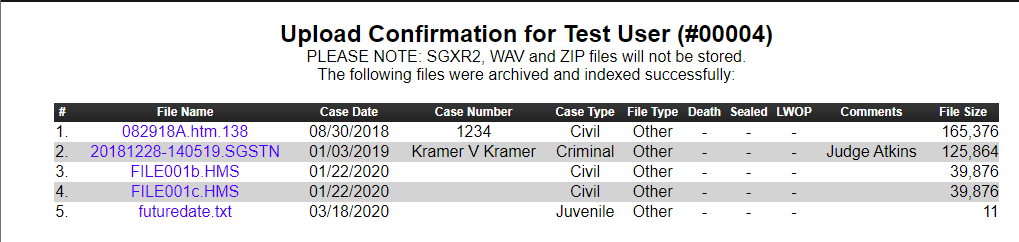 Once
the transfer has completed, it will show you a confirmation of the files you
have uploaded along with the various indexing information.
Once
the transfer has completed, it will show you a confirmation of the files you
have uploaded along with the various indexing information.
You can click on any of the file names and you will be able to edit the indexing information for that file. See the Edit section for more details
If you want to change any indexing information for these files, click on the file name, and you will be taken to a screen to Edit the indexing information for that file. Please see the “Edit Files” section.
 Before
you can download a file, or edit the indexing information for a file, you need
to search for the file(s) first.
Before
you can download a file, or edit the indexing information for a file, you need
to search for the file(s) first.
Search
The first thing to do before downloading or editing a file is to search for it. The search page gives you a number of ways to find your file(s). All fields are optional—if you don’t put in any search criteria, the system will find all files you have ever uploaded.
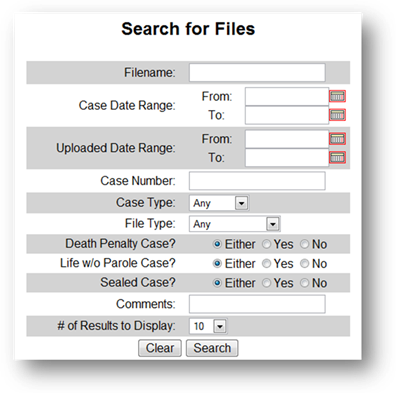
Here is a description of the various searching options:
Filename: Enter all or part of the name of the file
Case Date Range: This will search for the files using the date of the case, as entered when you initially uploaded the file(s). You can enter a date range to narrow the search for your file(s). If you enter only a “From” date, the system will find all files from that date forward. If you enter only a “To” date, the system will find all files up to and including that date. Or you can enter two dates, and the system will search for files with case dates between the two dates you pick. If both dates are the same, the system will find only files with the specified case date.
Uploaded Date Range: This will search for files that were uploaded to the ACORN server between the dates listed. The date this search uses is the day you uploaded the files to ACORN, and not the case date of the file.
Case Number: Enter all or part of the case number associated with the file.
Case Type: Select the type of case for the file. The “Any” option will search for all types of cases. Or you can specify to have the system only find a certain type of case file, such as only “Criminal” case files.
File Type: Select the format of the file. The “Any” option will search for all type of file types. Or you can specify to have the system only find certain type of files, such as “Draft Transcripts”
Death Penalty Case: Specify whether the file you are looking for was associated with a death penalty case. If you select the “Either” option (the default option), the system will look for all files regardless if the file was marked Death Penalty or not.
Life w/o Parole Case: Specify whether the file you are looking for was associated with a Life without Parole case. If you select the “Either” option (the default option), the system will look for all files regardless if the file was marked Life without Parole or not.
Sealed Case: Specify whether the file you are looking for was associated with a Sealed case. If you select the “Either” option (the default option), the system will look for all files regardless if the file was marked Sealed or not.
Comments: If you entered any comments when you initially uploaded the files to ACORN, you can put part of all of the comments in this field to search for that file(s).
# of Results to Display: Depending on your search criteria, ACORN may find many files that match your request. You can choose to have ACORN only display a limited amount of files per page. You can also select “All” to see all the files that matched your search criteria, but it may take awhile to display, depending on the speed of your Internet connection.
Clear: By clicking this button, all the search criteria will be removed or set back to the default values.
Search: Click this button when you are ready to search for your files using the criteria you entered.
Now that you found the file(s) you wanted, it is time to do something with them. From here you can either download (retrieve) the file, or edit the indexing information about the file.
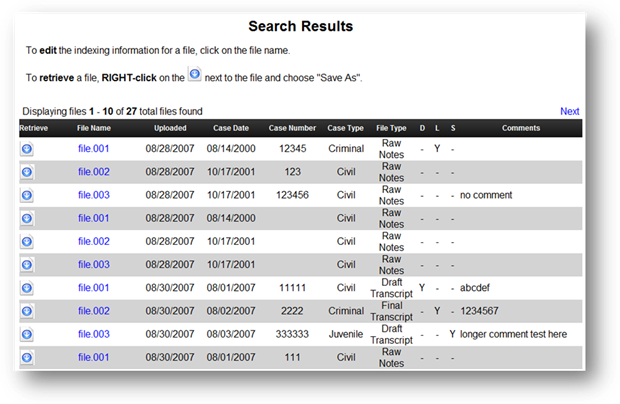
Download
![]() To
retrieve a file from ACORN, right click on the icon of a blue circle
with a white down arrow. This will display a context window. Choose the
Option that says “Save Target As” or “Save Link As”, depending on your Internet
browser. You should then get a Window allowing you to navigate your computer
for the location where you would like to save the file. Then click the “Save” button.
To
retrieve a file from ACORN, right click on the icon of a blue circle
with a white down arrow. This will display a context window. Choose the
Option that says “Save Target As” or “Save Link As”, depending on your Internet
browser. You should then get a Window allowing you to navigate your computer
for the location where you would like to save the file. Then click the “Save” button.
Once the file is downloaded, you should be able to use the file with whatever software you used to create the file initially.
Edit
After searching for a file or files, or on the confirmation screen when uploading files to ACORN, you can click on the filename and you will see a screen to edit the indexing information on that file.
The fields that are highlighted in gray are not changeable.
All other fields can be changed.
When done making changes, be sure to click the “Update File Details” button to save your changes to the ACORN database.
You should then see the message “File information updated successfully”

For security reasons, it is a good practice to change your password periodically. Your Court Reporter Manager may initially set up your account with a generic password, in which case you should change your password the first time you login to ACORN.
You will be asked to enter in your current password to verify the password change is coming from you.
Then enter your new password, and then re-enter your new password a second time to verify you typed it correctly. (The two passwords must match—since you can’t see the characters you are typing.)
Finally, click the “Change Password” button.
If your password is blank, or the new password you entered does not match the “confirmed” password you entered, you will be asked to try again.
If you ever forget your password, contact your Court Reporter Manager to have your password reset.